

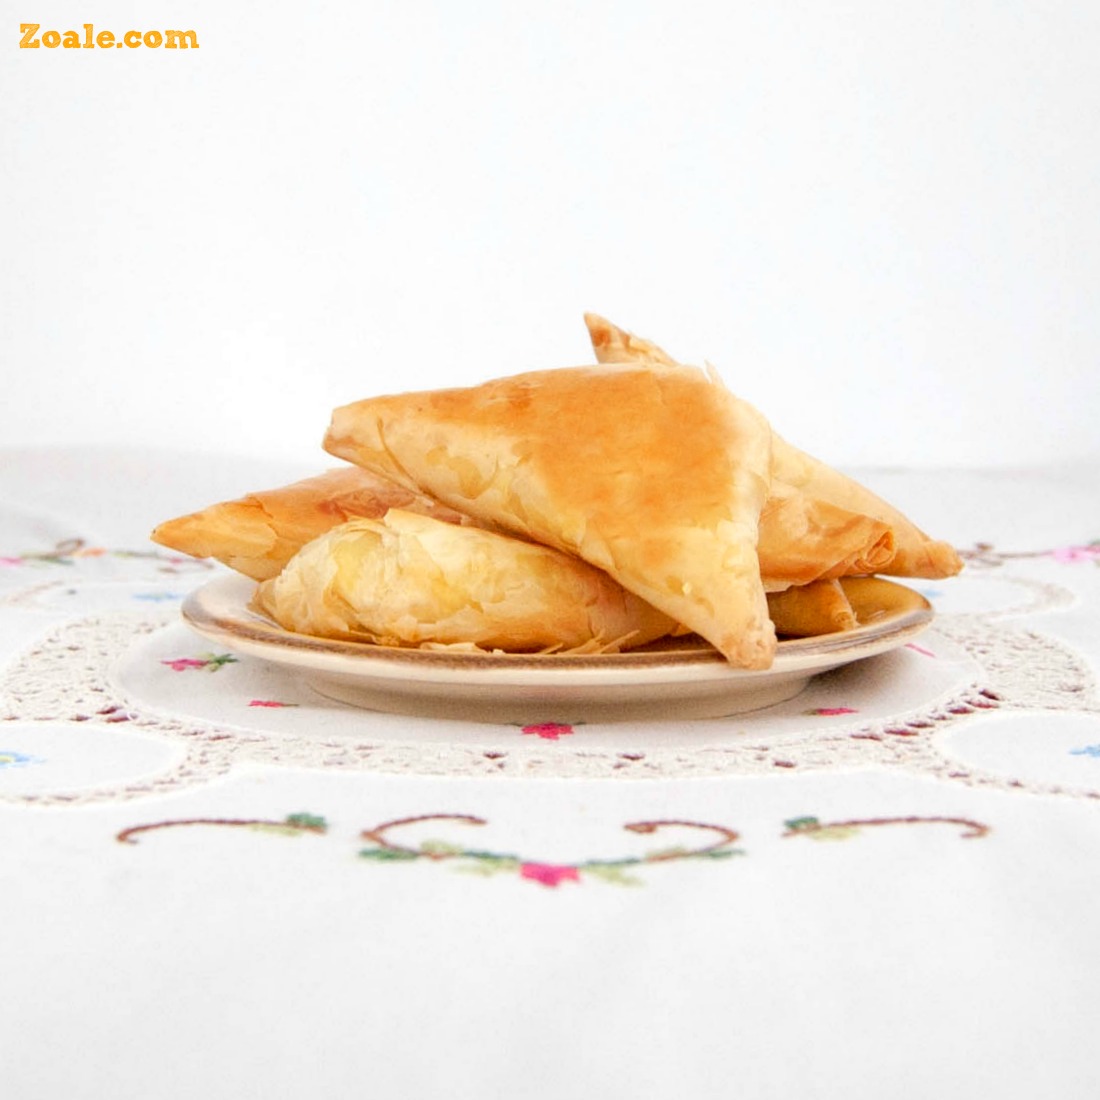
Our Thanksgiving and other holidays always include tiropita (cheese and egg pita) and spanakopita (spinach and feta pita). Being a Greek immigrant, my mother was not familiar with Thanksgiving, but did a great job of learning the dishes and making them incredible. She made my dad all the traditional fare he was used to, but also included a couple of Greek staples. It doesn’t feel like Thanksgiving if I don’t get to eat tiropita and spanakopita. I make spanakopita for my family on a regular basis, but I save tiropita for special occasions. It is an amazing cheesy and buttery indulgence. There is simply nothing else like it. I hope you make this part of your Thanksgiving menu. It is the perfect make-ahead side dish (see the bottom of the post, for how to make days or even months ahead).
My mother was kind enough to let me share her amazing tiropita recipe. Thanks mom! She has created a unique and flavorful combination of cheeses. She has always been an amazing cook, and I feel so honored to be able to recreate this dish. I love you mom!

Notes
#1. This is a great make-ahead food. After you make the triangles, freeze them without baking them. Place in a freezer safe container for up to a couple of months. Remove and bake. You can also make a couple of days ahead and store in the fridge. Just remove and bake.
#2. Freeze left-overs. Place in the oven to defrost and warm through.
Ingredients
- 8 oz. feta cheese
- 8 oz. ricotta cheese
- 2 oz. Romano Cheese
- 4 eggs
- 1 Tbsp. extra virgin olive oil and 1/2 cup for phyllo
- 16 oz. phyllo (fillo) pastry sheets (#4 if specified)
- 1/4 cup unsalted butter
Special Instructions
- Remove the phyllo dough the day before and place in the fridge to defrost.
Instructions
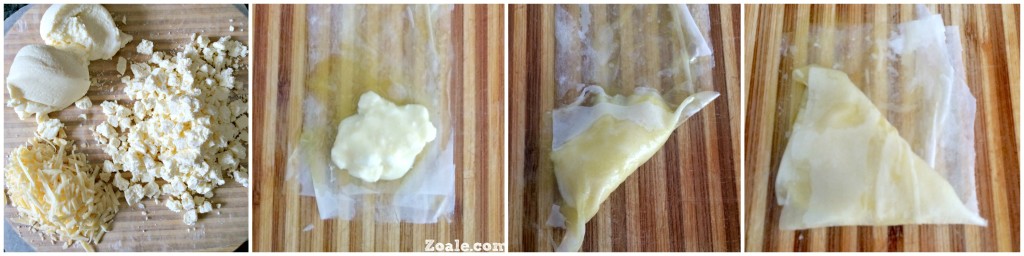
- Prepare the cheeses: grate the Romano and cut the feta into small cubes or crumble. Break the eggs in a large bowl and add 1 Tbsp. olive oil, and whisk well. Add the ricotta cheese and whisk until smooth. Add the Romano and feta cheeses and stir until incorporated. Place the mixture in the fridge for at least 30 minutes to chill.
- Melt 1/4 cup unsalted butter. Add 1/2 cup olive oil and stir well. I use a 2:1 ratio with olive oil and butter. I prefer more oil for the taste and texture. Many people use all butter, but that is a personal choice. The olive oil and butter are wonderful together.
- Remove the phyllo sheets from the fridge and open. Keep it covered while working with it, because phyllo dough dries out quickly. Cut into 3 inch wide strips. Remember to keep parts of the dough you are not working with covered. Remove your cheese and egg mixture from the fridge.
- Preheat the oven to 350 degrees.
- Using a pastry brush, brush three 3 inch wide sheets with the oil and butter mixture and place one on top of each other. Place 1 tsp. of the cheese and egg mixture just at the edge closest to you. Make your initial fold away from you and into a triangle shape. Ensure this first fold is sealed well. Continue rolling until you run out of phyllo and just tuck the end piece underneath. Take another 3 inch wide piece of phyllo and brush with the oil and butter mixture. Place the triangle you just made at the far end nearest you and roll it until you have used up all the phyllo and tuck the remainder underneath. I do this, to ensure that there will not be any leakage. You can certainly use four sheets initially and skip this step. If you like less phyllo, use 3 total sheets. Repeat until you have used up your ingredients.
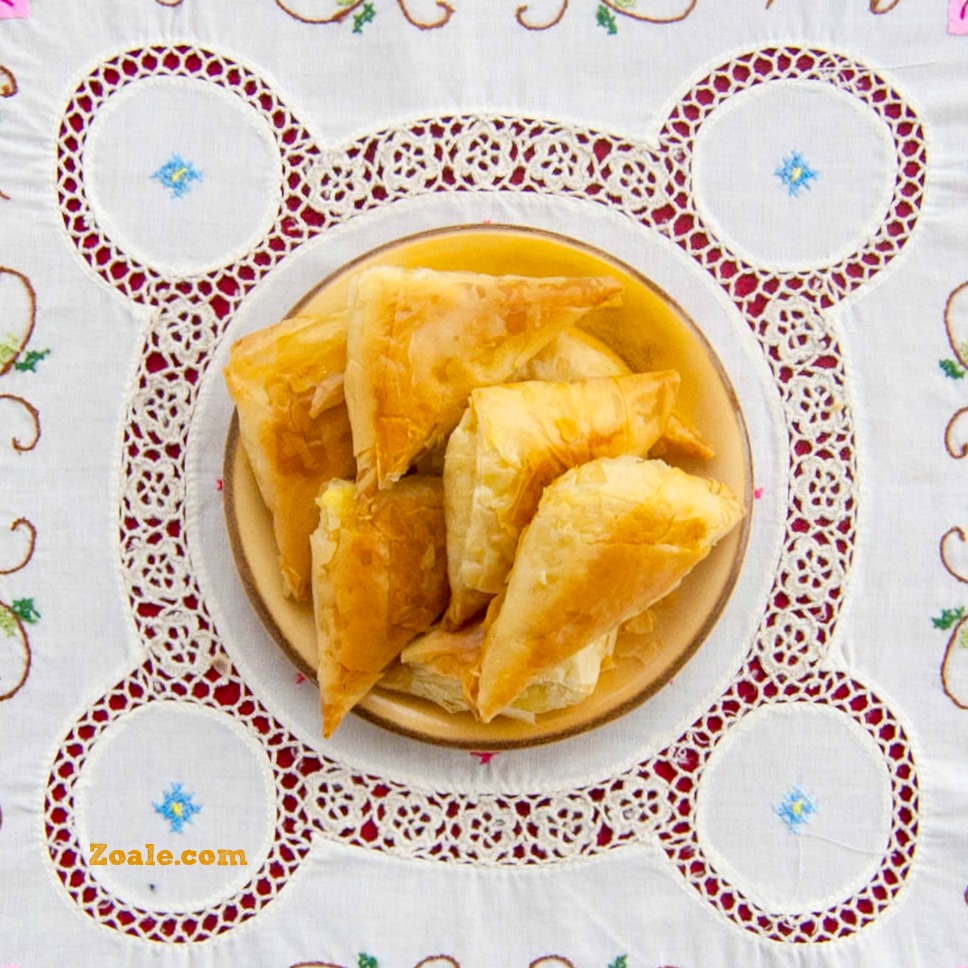
- Place on lightly greased baking sheets and in the oven. Set the timer for 15 minutes. Remove and check to see if they are more golden on bottom than top. If that is the case, flip over. Either way, place back in the oven for 5 minutes. They should be golden brown on top and bottom when done. Note: Do not let the phyllo dough get dark brown, it will turn bitter.
- Remove from the oven and enjoy!
Notes on phyllo:
- #1 I use a #4 phyllo. If you purchase a national brand that is in a regular grocery store, it is most likely a #4. They are not always labeled. The larger the number, the thicker the phyllo sheets.
- #2 When brushing the oil and butter mixture, pretend you are painting something. It is all in the wrist. Do not apply too much pressure, use your wrist to make the strokes.
- #3 I like making my own phyllo dough, but never do for triangles. I will share my homemade dough recipe down the road.
Tiropita is perfect for any meal of the day, including breakfast, and is the perfect small bite for any event.


Thanks so much for sharing this! I love this and have to make it! I don’t know how I am not following you I was sure I was, but anyway i followed you!
Thank you Lynn! We actually ate the leftovers for breakfast with coffee and it was so good. I hope you get a chance to try it 🙂 My mom’s recipe is delicious. I think it is a glitch in WordPress. That has happened to me on a couple of occasions with folks I follow.
Yes I am so confused when I saw follow next to your name I was surprised as I know you have been in my reader! 🙂
I have started periodically checking my follow list. I am glad you re-followed me 😉
yes I just did and was surprised, some people I think went to another site or something so I was no longer following!
Glad that helped 🙂 I am always surprised when I am no longer following someone.
Yes
😀
This looks delicious! And not as complicated as I thought it would be…it would be a very good appetizer for the holidays! Thanks for sharing 🙂
(and I also followed you – again! – not sure why I it stopped either)
Thank you! It definitely seems more complicated than it is. The hardest part is folding a bunch of triangles 🙂 Thank you for the re-follow. I actually had to re-follow you recently too. I have had it happen a handful of times to different folks I follow. Silly WordPress 😀
🙂 🙂
They sounds and looks wonderful, Antonia! I bet they disappear in a few seconds!
I totally relate to your mom’s experience. Of course, in Italy we do not celebrate Thanksgiving either so it wasn’t easy for me to “master” the traditional dishes – actually I’m still working on them. 😉 My first turkey experience was a total disaster and I still have nightmares about that huge bird!
Anyhow, I always serve at least a couple of Italian dishes, something that I don’t usually screw up so, in the worst case scenario, I know we’ll have something edible on the table! 😉
Thank you for the kind words Francesca! You always say the nicest things 😀 That’s funny you say that…maybe that’s why my mom always had some Greek food on Thanksgiving too 🙂 I think it’s nice you mix in Italian food, especially for your little girl. It is a big bird, isn’t it 😆
It sure is! 😅
🙂
Looks crispy and yum.. My lo love crunchy snacks like this.. This s perfect for him
Thank you Vida! I bet he will like them :). My little boy loves them.
Delicious! I made these once a long time ago. I really must make some more, maybe for Christmas.
Thank you! They are perfect for the holidays 😀
Looks beautifully crisp and golden. Will work amazingly as an evening snack with some tea or coffee.
Thank you! They are really good at breakfast too with some coffee 🙂
I love that your mom added her own twist on Thanksgiving by making some of her traditional dishes. No two Thanksgiving meals are alike and I love hearing how people make theirs unique! I’d never heard of tiropita before but it looks delicious and you make it sound easy to make Antonia!
You are right, it is really cool! It is amazing how different each Thanksgiving meal can be, even if similar foods are being served. Tiropita is super easy to make, but it take a little time to fold the triangles 🙂 Of course, you can make a pan-sized one instead. Thanks Heather!
This looks more like Indian Samosa…Perfect crispy tea time snack…
Neat, it does! It is perfect with tea or coffee 🙂
Looks so crispy and yummy dear! Perfect tea time snack!
Thank you Kushi! Yes, the perfect tea time snack 🙂
Antonia, I have has spanakopita many times but never had Tiropita! It sounds amazing- love the flavors in it. what a nice tradition your mom started!
I love spanakopita! Tiropita is really tasty, and is great for a holiday or event. Thank you Sandhya 🙂
It looks like puff..love the flaky outer layer
Thanks Vidya! It is very flaky 🙂
This sounds so amazing and I am looking forward to making this:) Lovely recipe
Thank you so much Zeba! I hope you enjoy it and would love to hear what you think 🙂 I am looking forward to judging the Creative Ingredient Challenge with you! Thanks for stopping by and it is nice to meet you 😀
Great photo!!
Thank you!
You’re welcome! ❤️❤️
Yummy! Thanks for sharing. 🙂
Thanks, Fabrienne! 😀